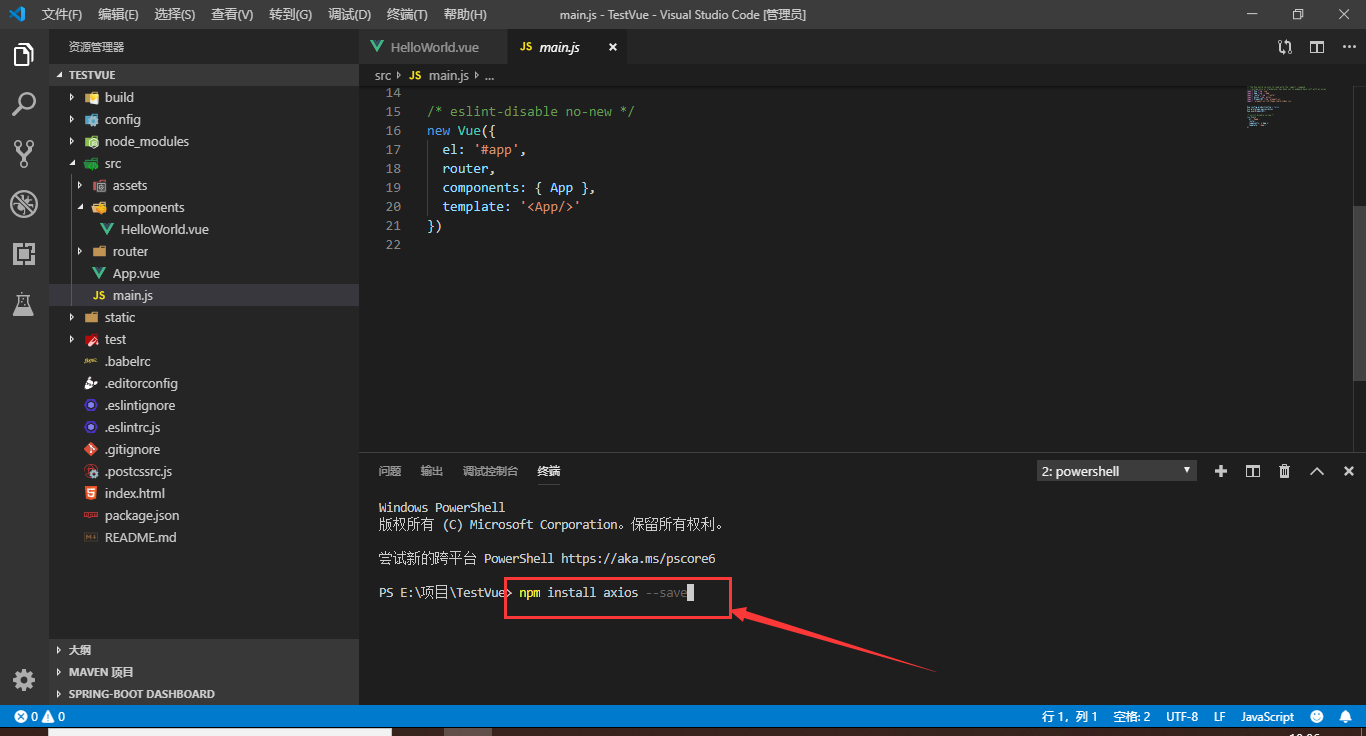
首先要安装了axios
npm install axios --save
如下图:
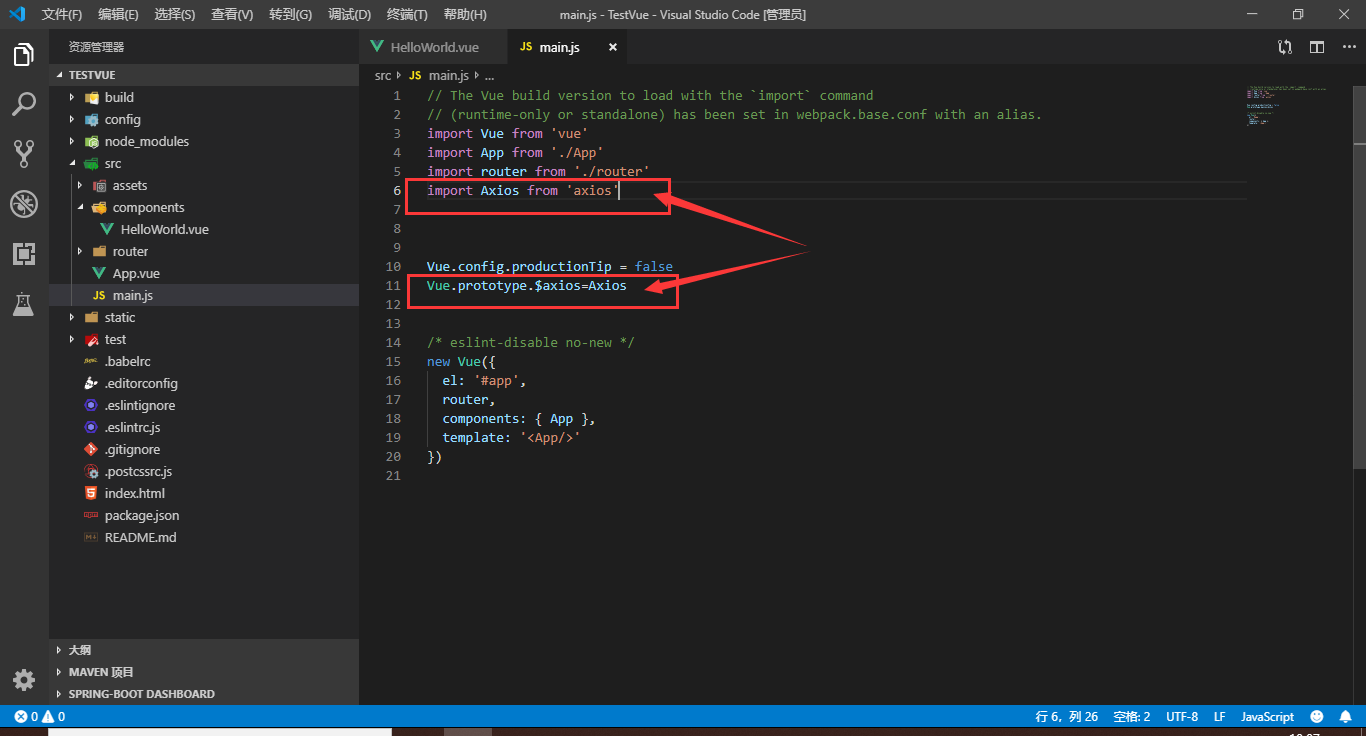
然后再main.js里配置下axios
1
2
| import Axios from 'axios'
Vue.prototype.$axios=Axios
|
如下图:
至此请求插件安装配置完毕
下面获取下数据看看
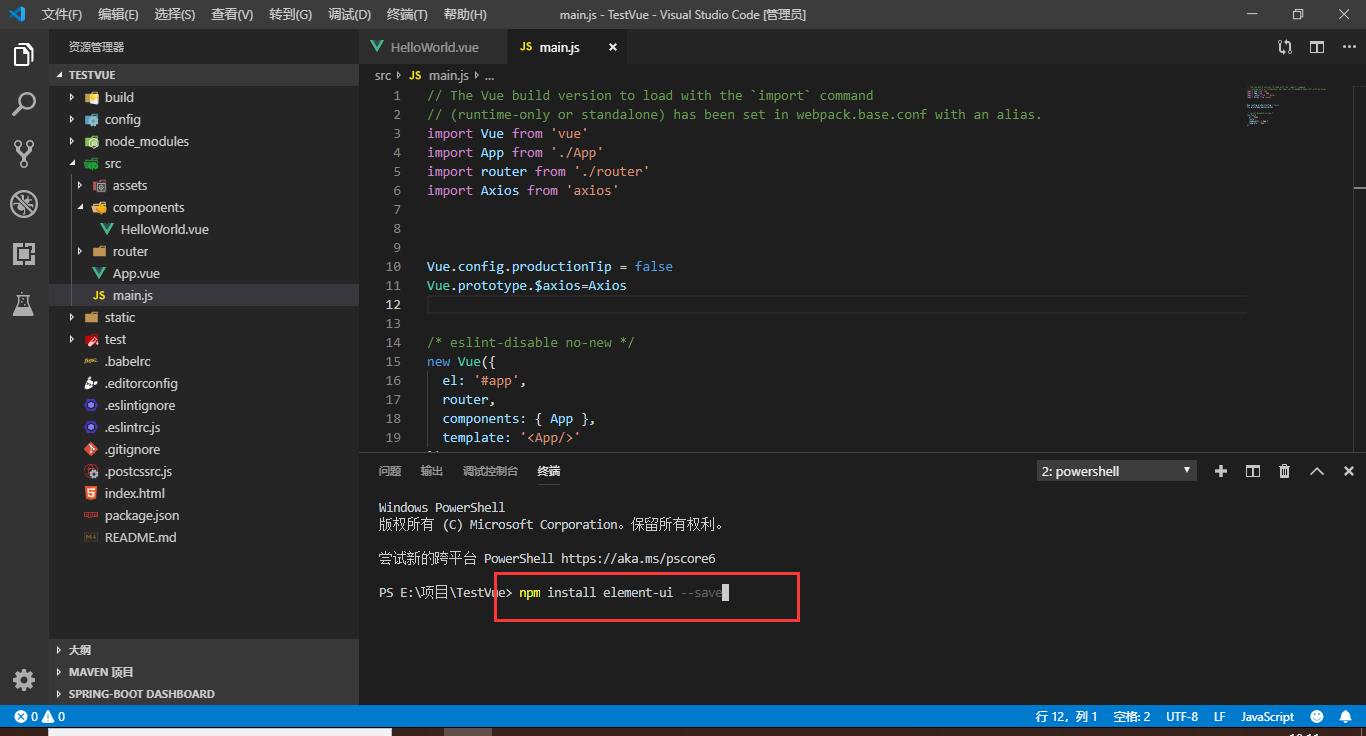
因为原生的样式太丑,我就用element了,那这样就需要安装和配置下element了,如下:
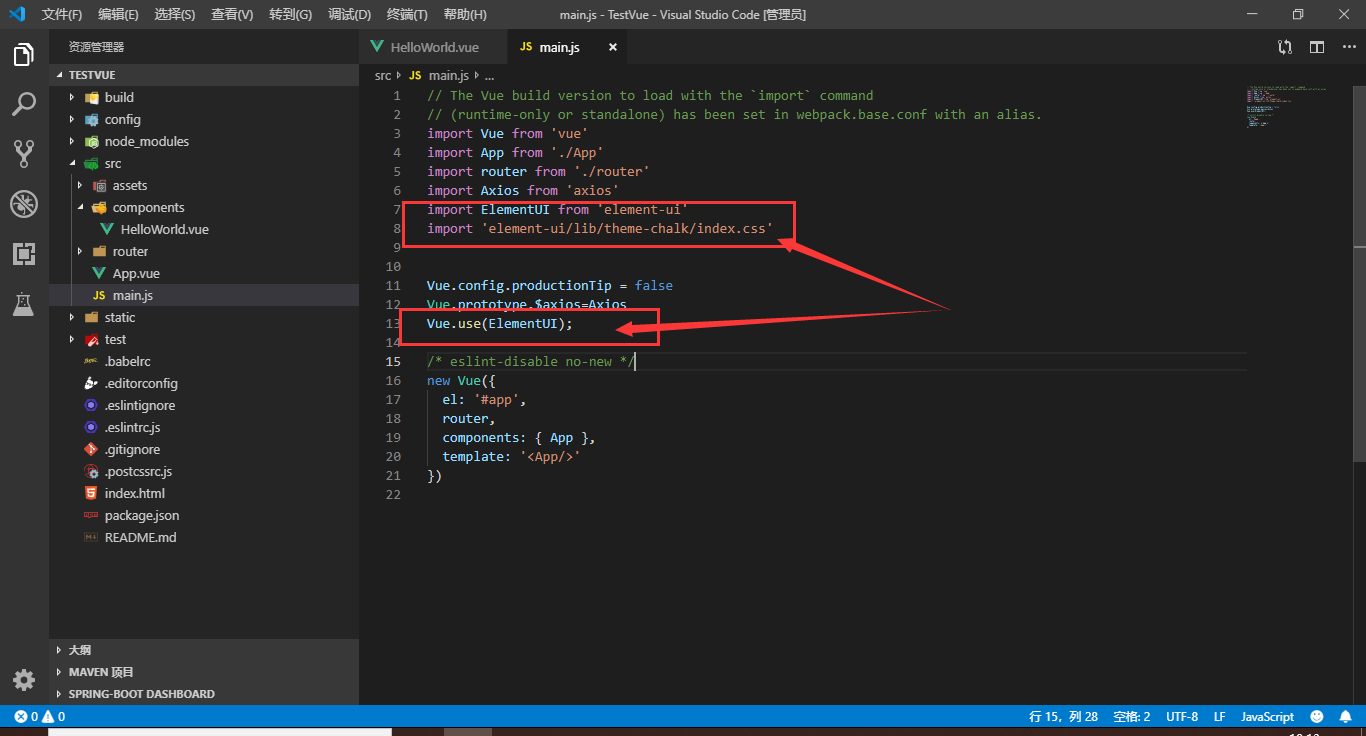
仍然是在main.js里配置下element
1
2
3
4
5
6
| import ElementUI from 'element-ui'
import 'element-ui/lib/theme-chalk/index.css'
Vue.use(ElementUI);
|
如下图:
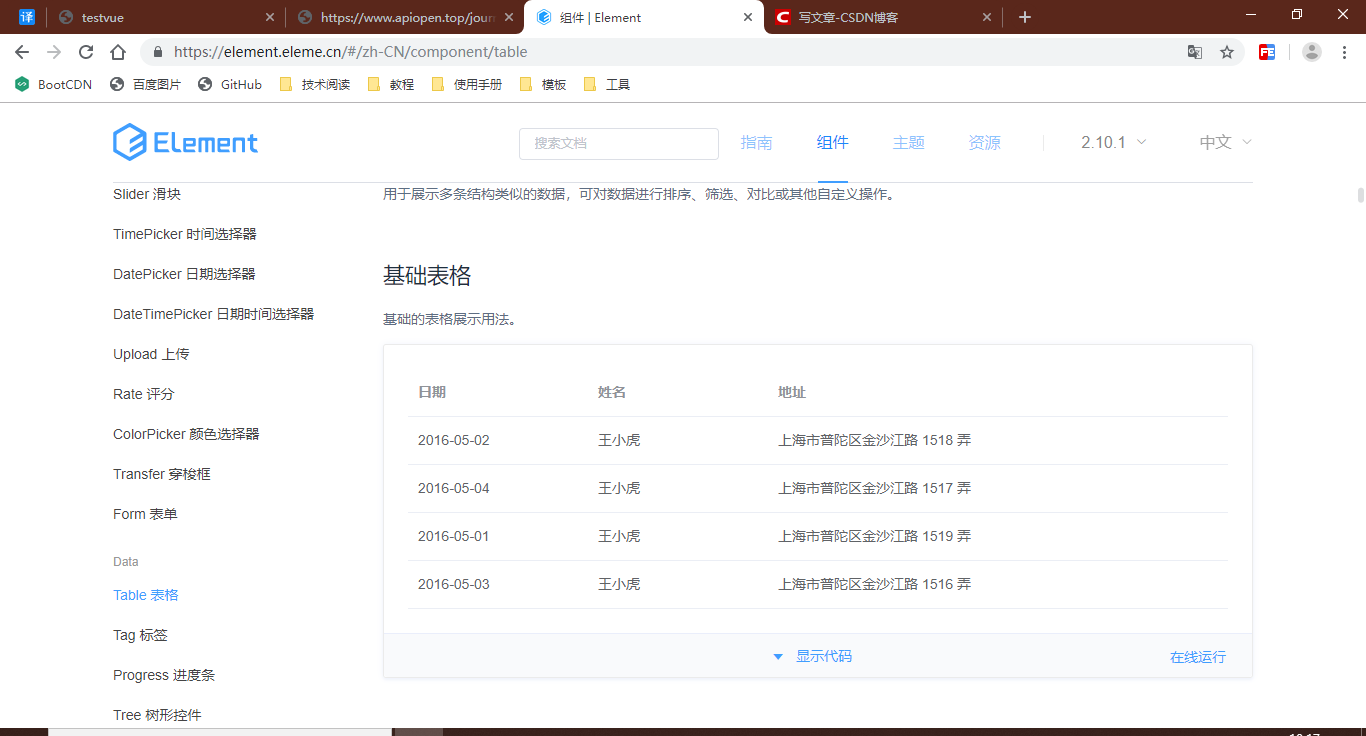
从element的官网找个好看的表格复制过来
就它了
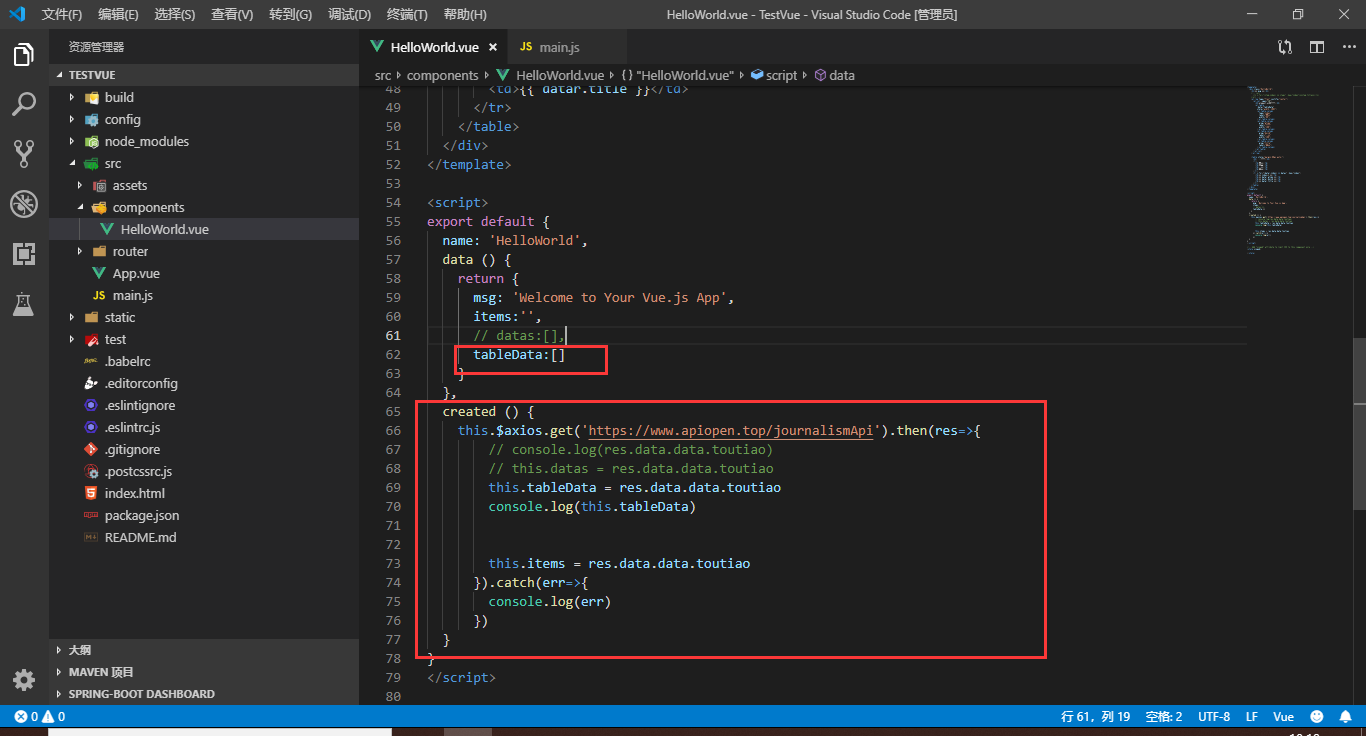
现在就进入正题了:获取动态数据!调接口,如下图:
带参数的话,可以拼接在url后面:
1
2
3
4
5
| axios.get('/user',{ params:{ ID:12345,name:quanyi } }) .then(function(response){
console.log(response);
}) .catch(function(err){
console.log(err);
});
|
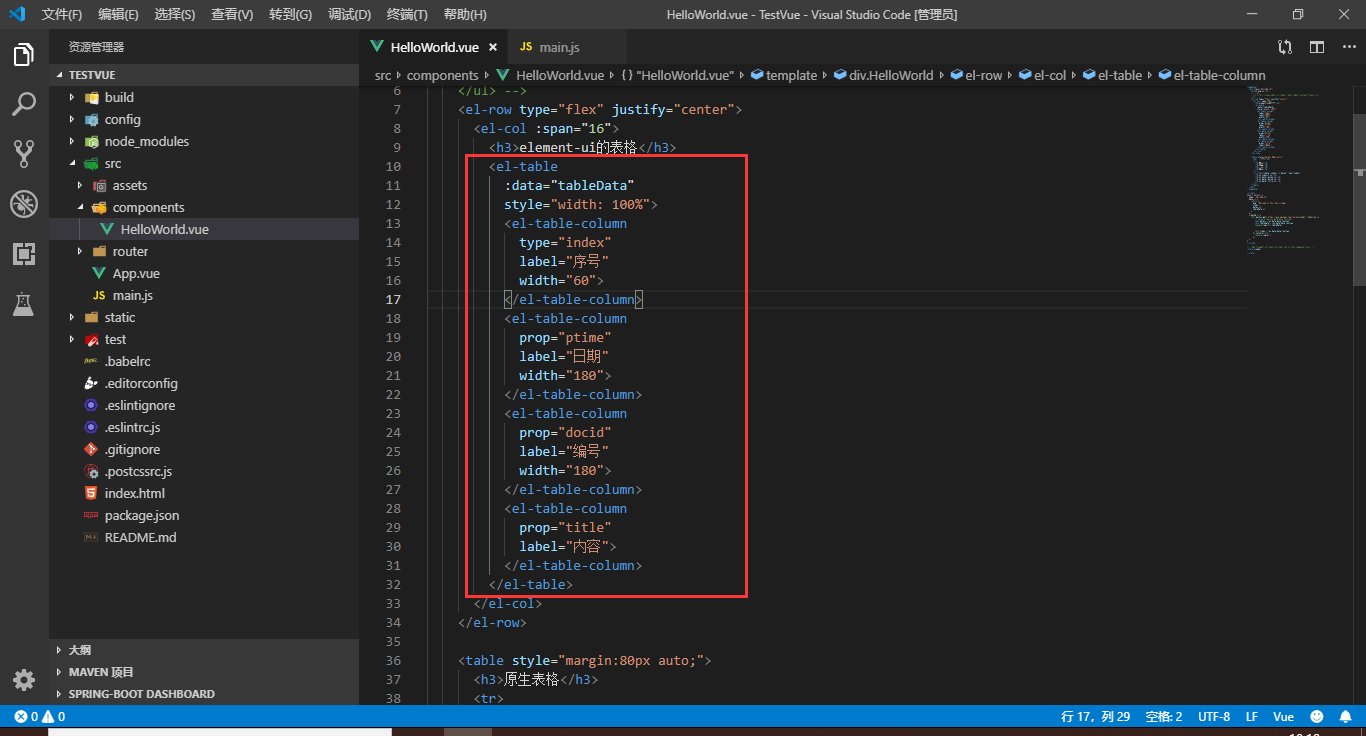
注意下图中Prop的值是接口定义的属性名,不是我起的名字
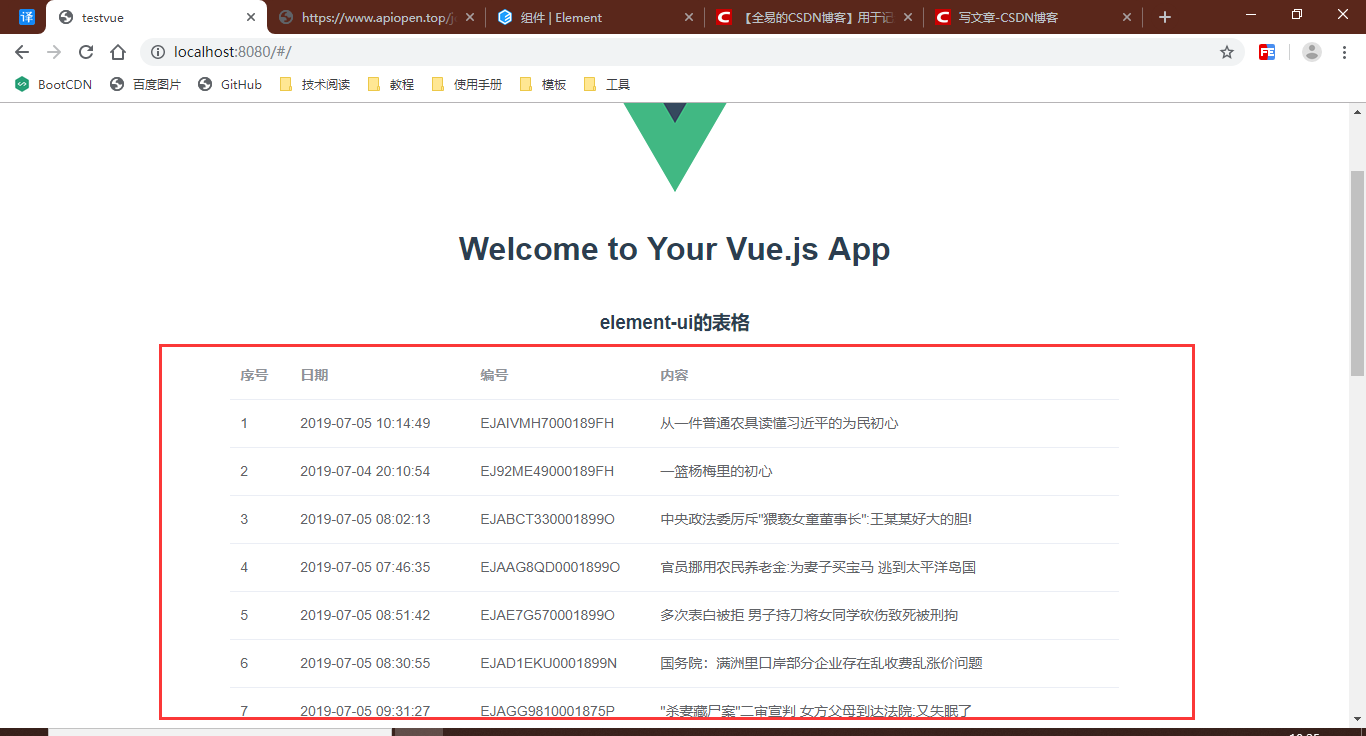
浏览器效果如下:
给代码:
1
2
3
4
5
6
7
8
9
10
11
12
13
14
15
16
17
18
19
20
21
22
23
24
25
26
27
28
29
30
31
32
33
34
35
36
37
38
39
40
41
42
43
44
45
46
47
48
49
50
51
52
53
54
55
56
57
58
59
60
61
62
63
64
65
66
67
68
69
70
71
72
73
74
75
76
77
78
79
80
81
82
83
84
85
86
87
| <template>
<div class="HelloWorld">
<h1>{{ msg }}</h1>
{{item.title}}
<el-row type="flex" justify="center">
<el-col :span="16">
<h3>element-ui的表格</h3>
<el-table
:data="tableData"
style="width: 100%">
<el-table-column
type="index"
label="序号"
width="60">
</el-table-column>
<el-table-column
prop="ptime"
label="日期"
width="180">
</el-table-column>
<el-table-column
prop="docid"
label="编号"
width="180">
</el-table-column>
<el-table-column
prop="title"
label="内容">
</el-table-column>
</el-table>
</el-col>
</el-row>
<table style="margin:80px auto;">
<h3>原生表格</h3>
<tr>
<td>序号</td>
<td>时间</td>
<td>编号</td>
<td>内容</td>
</tr>
<tr v-for="(datar,index) in datas" :key="index">
<td>{{ index+1 }}</td>
<td>{{ datar.ptime }}</td>
<td>{{ datar.docid }}</td>
<td>{{ datar.title }}</td>
</tr>
</table>
</div>
</template>
<script>
export default {
name: 'HelloWorld',
data () {
return {
msg: 'Welcome to Your Vue.js App',
items:'',
datas:[],
tableData:[]
}
},
created () {
this.$axios.get('https://www.apiopen.top/journalismApi').then(res=>{
this.datas = res.data.data.toutiao
this.tableData = res.data.data.toutiao
console.log(this.tableData)
this.items = res.data.data.toutiao
}).catch(err=>{
console.log(err)
})
}
}
</script>
<style scoped>
</style>
|
在调接口那插一杠子:可以全局配置接口的基路径
在min.js中接着写下如下 一行代码:
1
| axios.defaults.baseURL = 'http://https://www.apiopen.top/'
|
那么在调接口时,接口路径就只写journalismApi就可以了
一次性并发多个请求:
1
2
3
4
5
6
7
8
9
10
11
12
13
14
15
16
| function getOne(){
return axios.get('/user/12345',{ params:{ ID:12345,name:quanyi } });
}
function getTwos(){
return axios.post('/user/12345/permissions',{
id:"1"
});
}
axios.all([getOne(),getTwo()])
.then(axios.spread(function(acct,perms){
})
).catch(function(err){
console.log(err);
});
|
axios可以通过配置config来发送请求:
1
2
3
4
5
6
7
8
9
10
11
12
| axios({
method:"POST",
url:'/user/12345',
data:{
firstName:"Fred",
lastName:"Flintstone"
}
}).then(function(res){
console.log(res);
}).catch(function(err){
console.log(err);
});
|
延申:
jquery的ajsx请求:
1
2
3
4
5
6
7
8
9
10
11
12
| $.ajax({
type: 'POST',
url: url,
data: data,
dataType: dataType,
success: function (res) {
console.log(res);
},
error: function (err) {
console.log(err);
}
})
|